


Engineering teams often design composite parts in one environment while manufacturing teams rely on another to support their established processes. When this happens, the composite design must be converted while preserving all features.
In this blog, Composites Design and Manufacturing Engineer Brandon Burke demonstrates how to convert a composite design created in Siemens NX to Fibersim. During this walkthrough, you will learn how to bridge design and manufacturing workflows efficiently.
Example scenario
This example simulates a common collaboration between an engineering organization and a manufacturer.
Company A is an engineering firm that designs a composite part using NX because it does not have access to Fibersim. After the design is completed, the composite definition must be shared with Company B, the manufacturer.
Company B uses Fibersim as part of its established manufacturing workflow and needs to recreate the design in that environment. To do this, the design created in NX Composites must be exported and transferred so that all features, such as ply definitions, laminate structure, and fiber orientations, can be rebuilt in Fibersim.
Create and export the composite definition (company A tasks)
The process begins inside NX Composites, where Company A prepares the composite design for export.
Before exporting any data, the producibility for all plies must be validated to ensure the composite definition is up to date. Once confirmed, the export process can begin.
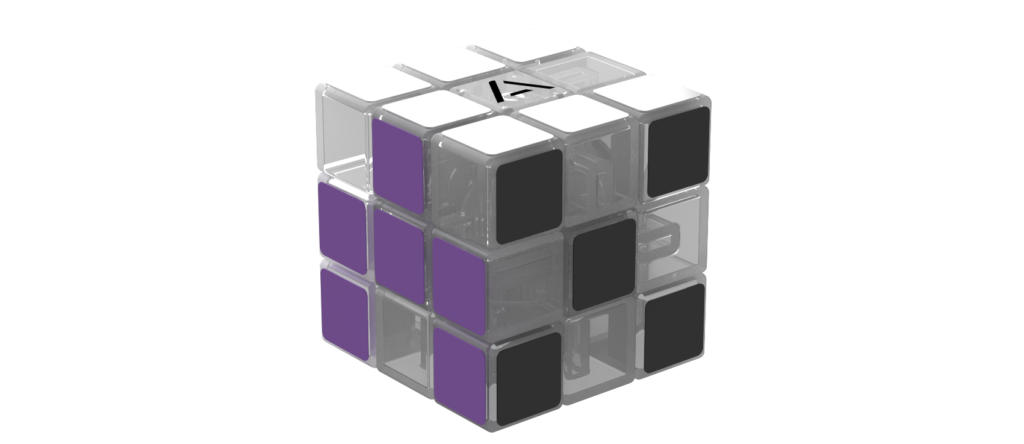
From the Composites tab, the team can select Export HDF5. During this step, the HDF5 file is renamed as needed, and all plies are selected for export. In this example, the model contains ten plies.
NX provides two fiber orientation options during export: rosette mapping or producibility. For this workflow, rosette mapping is used.
In addition to the HDF5 file, a STEP file is exported to provide the geometric information required to rebuild the laminate in Fibersim. The STEP file must contain certain data to recreate the composite definition, including:
- The laminate surface
- Net and extended boundaries
- The rosette origin
- The zero-degree direction
Together, the HDF5 and STEP file contain the data necessary for the manufacturer to reconstruct the composite definition.
Import and set up Fibersim (company B tasks)
Once the files are delivered, Company B begins the process of rebuilding the composite definition.
The first step is importing the STEP file into NX. After the file is processed, the part contains the imported geometry, including the body and associated surfaces. Because the file is imported as geometry, it does not yet contain laminate or ply definitions.
Next, the Fibersim environment is opened to recreate the composite structure.
Creating the laminate and rosette: a new laminate definition is created by selecting the layup surface and defining the net and extended boundaries. In this example, both boundaries are set to the same geometry. After the laminate is created, the rosette is defined. This establishes the fiber orientation reference by selecting the rosette origin and the zero-degree direction that were included in the exported STEP file. At this stage, the laminate and orientation reference exist in the model, but no ply definitions have been created yet because it is an empty model.
Importing ply data: To bring in the ply definitions, Company B imports the HDF5 file using the Import Analysis Ply, then Import Overlay Zones command. The HDF5 file contains all ten plies from the original NX Composites design. When the plies are imported, they appear with their corresponding mesh areas. In this example, eight plies share the same mesh and represent full-body plies, while two plies have unique boundaries and must be processed individually. Overlay zones can be created for the full-body plies using the automatic creation method. For plies with different boundaries, the zones are created individually, and their curves are refined. During refinement, extra points generated during the HDF5 export may appear along boundaries. These points should be removed to prevent invalid boundary definitions before the overlay zones are finalized.
Generating layers and plies: After the overlay zones are created, the Zone-to-Layer Analysis tool converts them into layers. This step generates the layer transitions and full laminate stack. Once the layers are created, the Generate Plies command builds the final ply definitions in Fibersim. The plies can then be renamed to match the manufacturer’s naming convention.
Result
After the overlay zones, layers, and plies are generated, the composite model has been fully reconstructed in Fibersim.
The final model includes all features, such as the laminate definition, ply definitions, and layer structure, that were created in NX Composites. Fibersim also allows a zone-based solid to be generated from the overlay zones, providing a solid representation of the laminate that can support further processing.
With the composite definition successfully recreated, the model is ready for the next steps in the manufacturing workflow.
Interested in seeing the tutorial walkthrough in the software? Explore this video.