When you’re taking screen shots for a presentation, project documentation or you just want to have a few different backgrounds for other purposes, navigating to File > Preferences > Background every time, every part can be tedious. Not to mention you have to remember the settings you want for your colors. NX helps by placing some canned backgrounds on the View Tab but they tend to be quite dark with greys and blacks.

I’ve customized my MB3 or Right Click, View menu to include Background. This makes it faster to access Edit Background but I still need to know what values I want to set the background. Plain White is easy but if you want a different color or a graduated color scheme, you still need to input the values. 
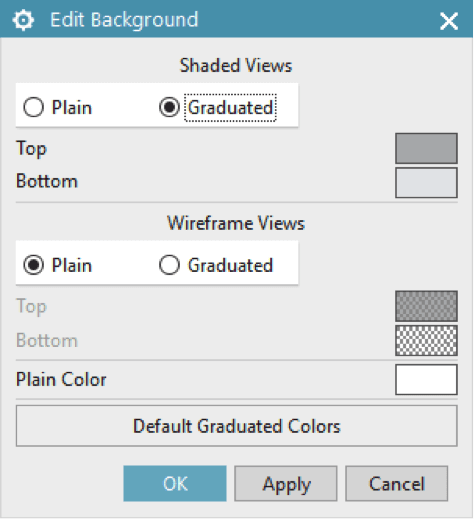
A quick way to have access to multiple backgrounds is to create a palette where you can have as many backgrounds as you like for the various tasks you have to perform.
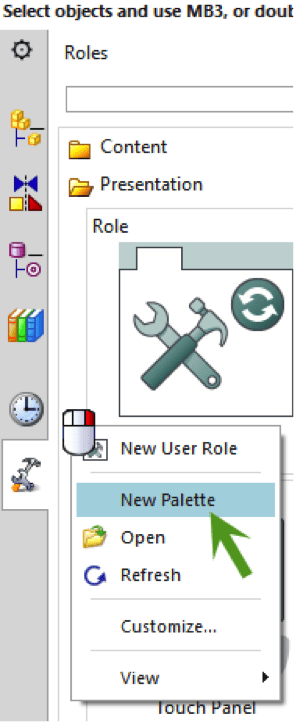
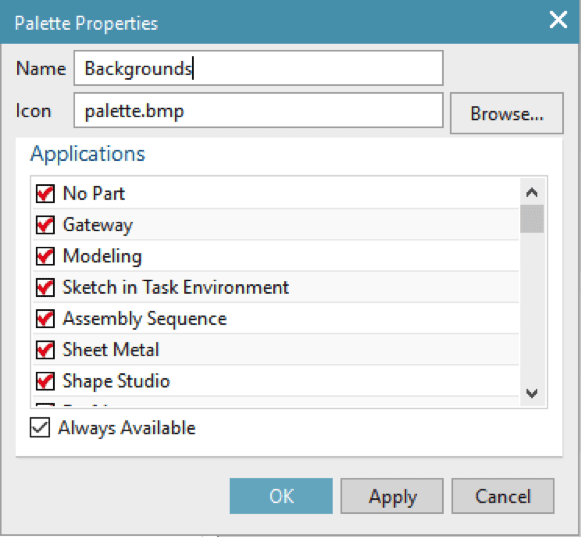
Right click in your resource bar and select New Palette and you’re presented with palette0. If you right click in the new palette0 and select Properties, you can rename it Backgrounds or a name you like. Make sure you check the applications you want to see the palette entries in.
Right click in the empty palette and select Visualization Template.

Name the palette entry so it makes sense to you. You can add a description to this entry as well by using the Paper and Pencil icon.
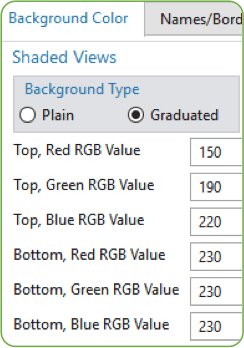
Clicking on the Shaded Backgrounds section, Top & Bottom Colors allows you to set the values you want.

You can key in a value, pick from Basic colors or use the color picker to get the color you want. The graduated blue available in the template part files way back in NX4 (I think? Maybe? Oh well doesn’t really matter…) timeframe are my favorites (values below).
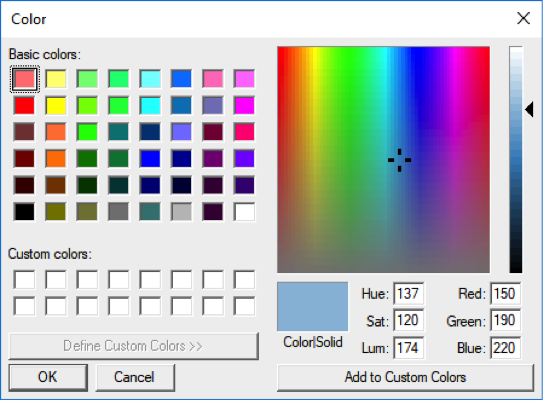
Besides just background colors, you can set other Visualization settings like Faceting. If you have a model where the holes are chunky or not circular, you can adjust the Faceting of your part by navigating to File > Preferences > Visualization > Faceting and adjust as needed. You can also put these settings on your Resource Bar.
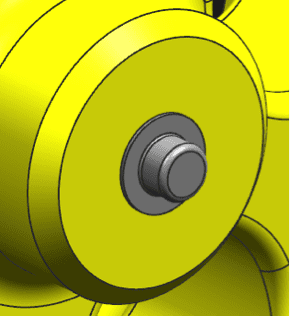
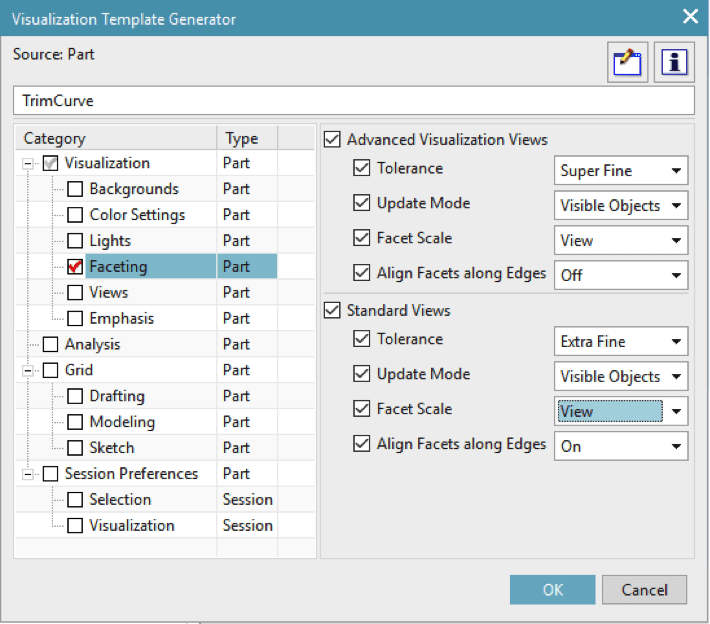
Very quickly, I’m able to create customized backgrounds and an entry to “fix” Faceting to my liking. This can be useful for job-shops that take parts from customers where you do not have control of the source files. You can apply your visualization preferences to the parts. 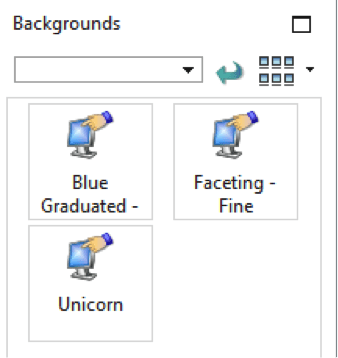
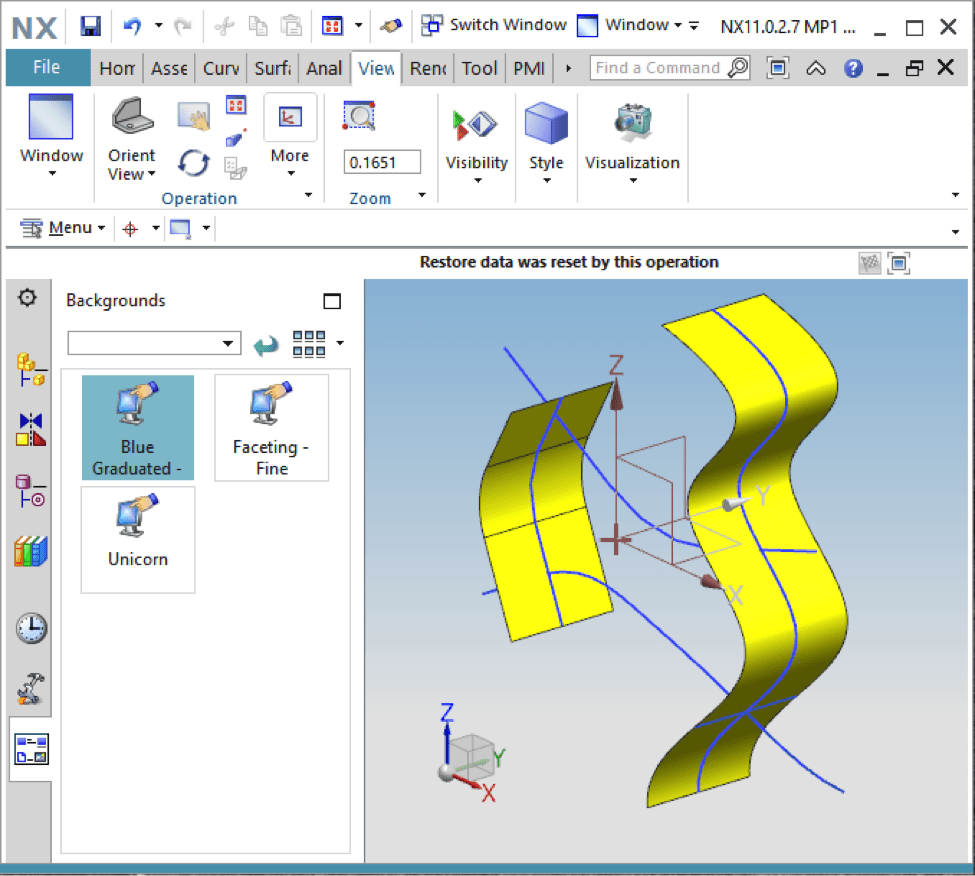
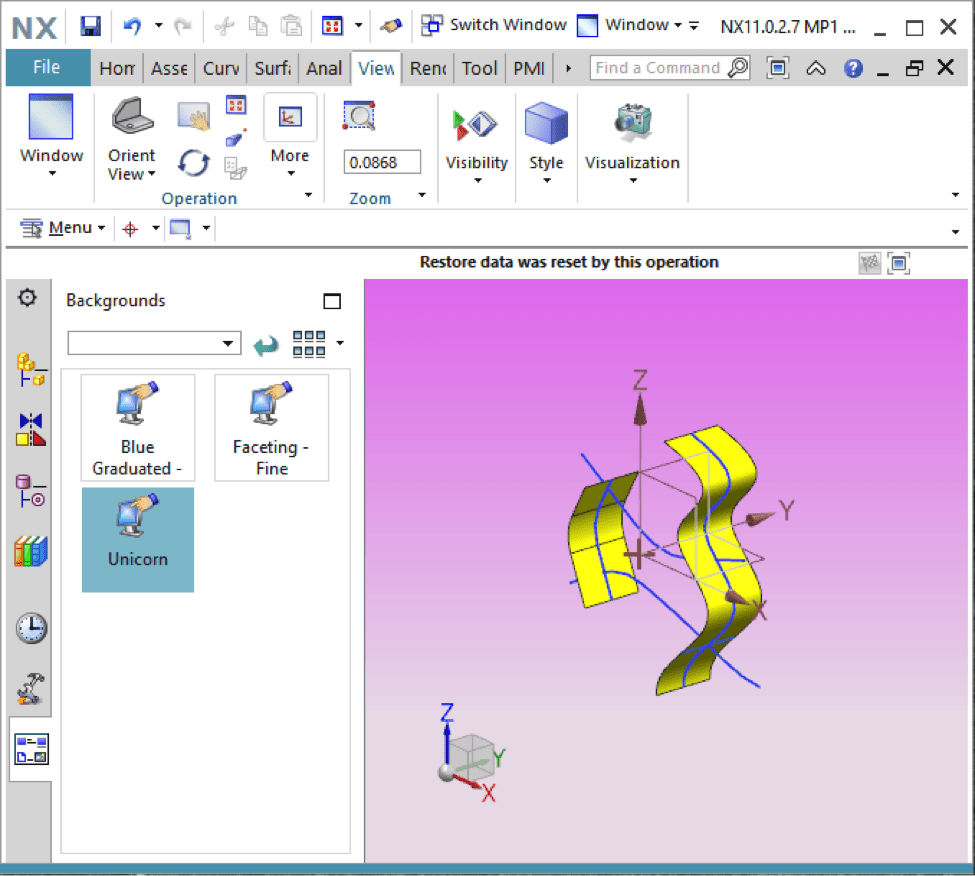
I hope you enjoyed this latest NX CAD tech tip. Got a suggestion for the next one? Send it along.
